# Subdomains & Custom Domains
Your Tebex Store can be accessed using a default `.tebex.io` subdomain or a **custom domain** that you own. This guide will walk you through how to configure both options.
> ⚠️ **Note:** Custom domains require an active **Tebex Plus** subscription. If your Plus plan expires, your custom domain will stop working.
***
### Subdomains
By default, your store will be created at a `.tebex.io` address—for example:\
`https://example.tebex.io`
#### 📍 Setting a .tebex.io Subdomain
1. Go to **Webstore → Domain** in your Control Panel.
2. Enter your desired subdomain in the `.tebex.io` field.
3. Click **Save**.
> ⚠️ If the subdomain is already taken, you'll need to choose a different one. We cannot manually free up subdomains—even for inactive stores.
***
#### Subdomain FAQs
**Can I lose my `.tebex.io` subdomain?**\
Yes, but only if:
* You're on the free **Starter** plan, and
* Your store has received **no payments for over a year**
Paid **Plus** plan users retain their subdomains regardless of activity.
**Can I use a `buycraft.net` subdomain instead?**\
No. Tebex rebranded from Buycraft and new stores are not eligible to use legacy subdomains.
***
### Custom Domains (Plus Plan Only)
Want a store URL like `store.yourdomain.com`? With Tebex Plus, you can use your own custom domain.
Before starting:
* Make sure you own the domain.
* Have access to its DNS settings (e.g., via GoDaddy, Namecheap, Cloudflare, etc.).
***
#### How to Set Up a Custom Domain
1. Go to **Webstore → Domain** in your Control Panel.
2. Under **Custom Domain**, click **Setup**.
3. Enter your custom domain (e.g. `store.yourdomain.com`).
4. Tebex will provide a **CNAME target** (e.g. `abc123.webstore.tebex.io`).\
Save this value.
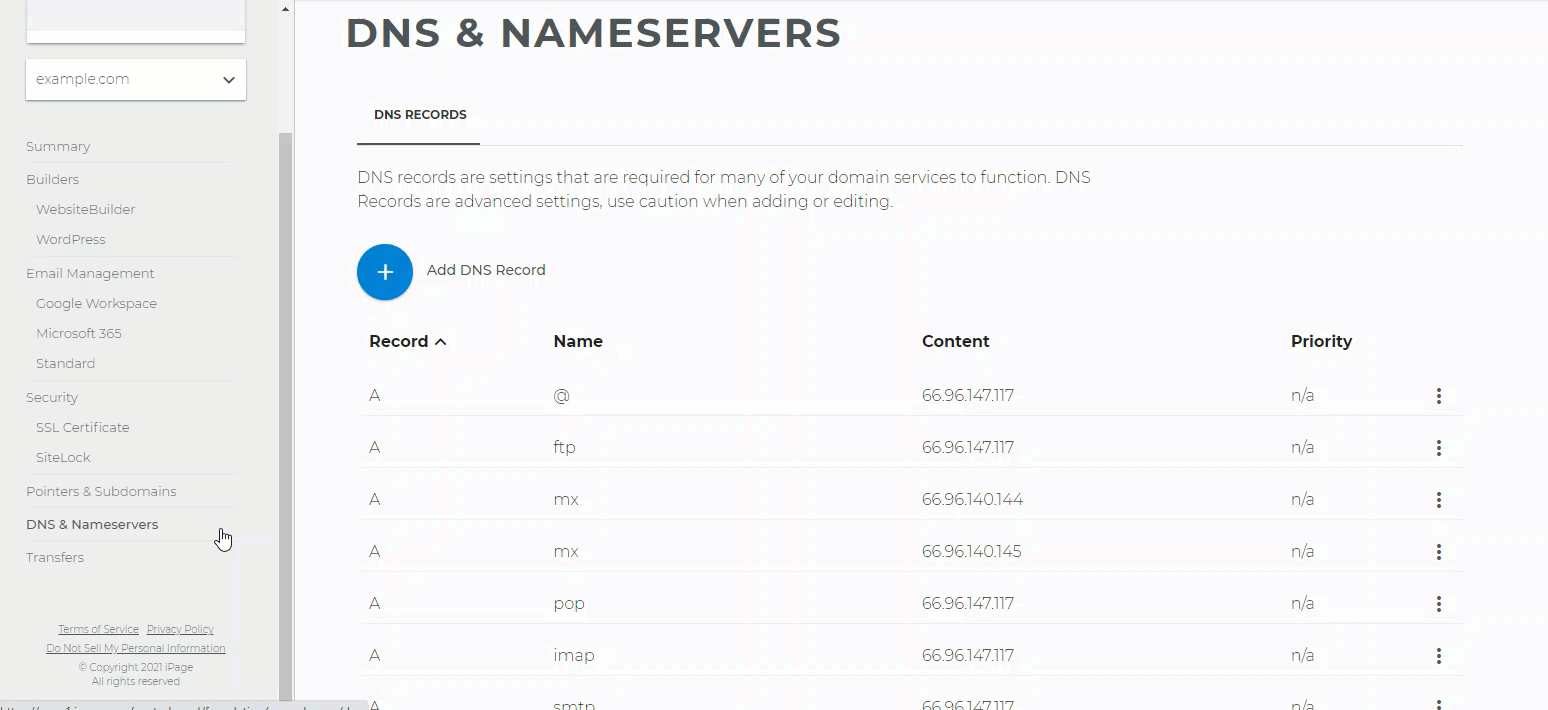
5. In your domain provider's DNS settings, create a **CNAME** record:
* **Host**: `store` (or the subdomain portion you're using)
* **Value**: the CNAME target provided by Tebex
6. Return to the Tebex Control Panel and click **Setup** again to confirm.
> You must create the CNAME before clicking Setup the second time.
***
### Registrar-Specific DNS Instructions
We’ve outlined steps for popular domain providers:
#### 🔵 Cloudflare
1. Go to the **DNS** tab.
2. Add a **CNAME** record:
* **Name**: `store`
* **Target**: your Tebex CNAME (e.g., `abc123.webstore.tebex.io`)
* Disable the orange cloud (no proxying).
3. Save the record and wait a few minutes to verify.
> 🚫 We recommend **disabling CNAME Flattening** to prevent resolution issues.
#### 🟡 Namecheap
1. Navigate to **Domain List → Manage → Advanced DNS**.
2. Add a new **CNAME** record:
* **Host**: `store`
* **Value**: your Tebex CNAME.
3. Save and test.
#### 🟠 GoDaddy
1. Go to your domain's **DNS Settings**.
2. Add a new **CNAME** record:
* **Host**: `store`
* **Points to**: your Tebex CNAME.
3. Save and test.
#### 🔵 Domain.com, HostGator, Bluehost, DreamHost
Follow the same pattern:
* Add a **CNAME** record for the subdomain you're using.
* Point it to your provided Tebex CNAME.
* Save, wait for DNS propagation, and test.
***
### Troubleshooting
#### Cloudflare: CNAME Cross-User Banned Error
If you're using Cloudflare and see a **"CNAME Cross-User Banned"** error, it may be due to:
* Expired Tebex Plus plan
* Incorrect DNS settings
* Proxying (orange cloud enabled)
#### Resolution Steps
1. Fix any billing issues via the [Billing Page](https://creator.tebex.io/billing).
2. Fully remove your custom domain setup in:
* Tebex Control Panel
* Cloudflare DNS settings
3. Wait 10 minutes.
4. Re-add the domain from scratch, following the steps above.
Still stuck? [Contact Creator Support](https://www.tebex.io/support-creator-form).
***
### Summary Table
| Feature | `.tebex.io` Subdomain | Custom Domain |
| --------------------- | --------------------------------------------- | -------------------------- |
| Included in all plans | ✅ | ❌ Tebex Plus required |
| Custom branding | ❌ | ✅ |
| DNS configuration | ❌ | ✅ |
| Risk of expiration | Yes (after 1 year inactivity on Starter plan) | Yes (if Plus plan expires) |
***
For platform-specific visuals, refer to our Custom Domain Setup tutorial:
{% embed url="" %}
---
# Agent Instructions: Querying This Documentation
If you need additional information that is not directly available in this page, you can query the documentation dynamically by asking a question.
Perform an HTTP GET request on the current page URL with the `ask` query parameter:
```
GET https://docs.tebex.io/creators/tebex-control-panel/webstore/subdomain-and-custom-domain.md?ask=
```
The question should be specific, self-contained, and written in natural language.
The response will contain a direct answer to the question and relevant excerpts and sources from the documentation.
Use this mechanism when the answer is not explicitly present in the current page, you need clarification or additional context, or you want to retrieve related documentation sections.